
Many Moline homes have aging electrical systems, and you can protect your family by prioritizing upgrades such as replacing faulty wiring, installing AFCI and GFCI outlets, and upgrading overloaded panels to prevent fires and reduce shock risk; performed by a licensed electrician, these measures improve safety and reliability throughout your home.
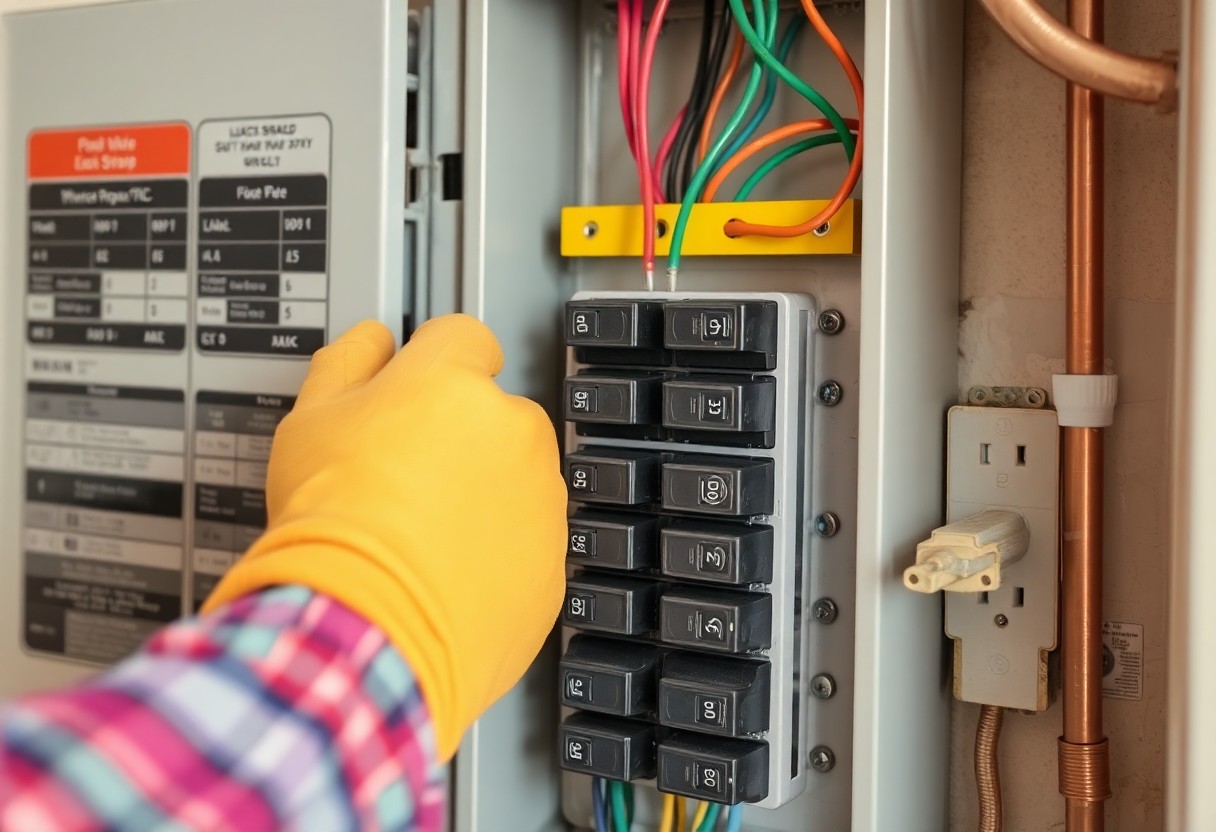
Service Panel & Circuit Upgrades
When you inspect older Moline homes, panel age and overloaded circuits often explain recurring tripped breakers and overheating. Panels over about 30-40 years commonly show corrosion, loose connections, or obsolete breaker types that raise fire risk. Upgrading the service and rebalancing loads to modern standards-often moving to a 200-amp service-reduces overloads, allows AFCI/GFCI protection, and lowers the chance of wiring failures that cause house fires.
Replacing aging panels and breakers
If your panel contains Federal Pacific or Zinsco equipment, or breakers that won’t trip, you have a documented safety hazard; those brands have high failure histories. Panels with visible rust, burn marks, or warm covers during use signal replacement need. You should have a licensed electrician perform an evaluation and swap to modern breakers and a properly rated enclosure to restore reliable overcurrent protection.
Increasing capacity and adding dedicated circuits
Adding dedicated circuits prevents nuisance trips and limits fire risk by isolating heavy loads: refrigerators typically need a 15-20 A dedicated circuit, electric ranges often require 40-50 A, and EV chargers commonly demand 40-60 A 240V circuits. Upgrading your main service to 200 amps gives room for HVAC, workshops, and future electrification without overloading branch circuits.
For planning, have a load calculation done per NEC methods; a 2-4 bedroom home with central AC and EV charging usually benefits from a 200-amp upgrade. Typical full-service upgrades range roughly $1,500-$5,000 depending on meter relocation and panel type. You should obtain permits and an inspection, and installers should balance phases, add AFCI/GFCI protection, and place dedicated circuits for kitchen appliances, HVAC, and charging to meet safety and code requirements.
Modern Wiring & Grounding
Upgrading wiring and grounding in older Moline homes often means replacing knob-and-tube or aluminum systems and increasing service capacity to a modern standard (many owners move to a 200‑amp service). You’ll gain safer copper conductors, proper neutrals and grounds, and the ability to add AFCI and GFCI protection where code now requires it, which markedly reduces both arc‑fire and shock risks.
Replacing hazardous or degraded wiring
If you see frayed cloth insulation, flickering lights, warm outlets, or discoloration at receptacles, you should replace those circuits; many homes from the 1930s-1970s still have these failure points. An electrician will typically swap unsafe runs for 14/2 or 12/2 NM‑B copper where appropriate, reconfigure loads onto properly sized breakers (15A/20A), and correct poor terminations that cause arcing and elevated fire risk.
Ensuring proper grounding and bonding
Grounding begins with a proper grounding electrode system-most installers drive an 8‑foot ground rod and connect it with a continuous conductor; for common service sizes you’ll often see a #4 AWG copper grounding electrode conductor on a 200‑amp panel. Proper bonding ties metal water, gas, and structural steel to the system so you don’t end up with energized piping, and electricians usually target a ground resistance under 25 Ω when testing.
An electrician’s inspection includes continuity checks, a clamp or fall‑of‑potential ground test, and verification that the main bonding jumper is present; if a single rod exceeds acceptable resistance they’ll add a second rod at least 6 feet away or connect to an existing electrode. You should expect bonded water service, bonded gas where required, and separate grounding or electrode treatment for detached garages, pools, or accessory structures to meet code and reduce shock/fire exposure.
Outlets, GFCIs & AFCIs
Installing GFCIs in wet areas and tamper‑resistant receptacles
You should replace standard outlets near sinks, tubs, garages and outdoors with GFCI‑protected receptacles; the NEC requires GFCI protection in bathrooms, kitchens (countertops), garages, unfinished basements and within 6 feet of sinks. GFCIs detect ground‑leakage of about 4-6 mA and trip in roughly 1/40 second to prevent shock. Also install tamper‑resistant (TR) receptacles in homes with children-these shutters block foreign objects and are required in most new residential construction.
Adding AFCIs to protect against arc faults
You should install AFCIs on bedroom and living‑area circuits to stop dangerous arcing that can ignite insulation; modern combination AFCIs detect both series and parallel arcs. You can fit them as breakers in the panel or as receptacle devices at the first outlet, and many jurisdictions now require AFCIs beyond bedrooms under recent NEC updates. If you notice unexplained burning smells or charred outlets, prioritize AFCI protection immediately.
Combination AFCIs reduce nuisance trips while detecting low‑energy series arcs from damaged cords and loose splices, and parallel arcs from conductor‑to‑conductor faults; they typically cost about $50-$150 per breaker plus electrician labor of roughly $100-$300 per circuit for retrofit. When you upgrade, have an electrician trace nuisance sources-shared neutrals or motor loads can cause trips-and test your AFCI monthly using its built‑in test button.
Lighting & Switches for Safety
You should prioritize properly rated fixtures and switch gear to reduce hazards: replace worn toggle switches with rocker or illuminated models, install occupancy sensors in closets and hallways, and put three‑way switches at both ends of stairways so you can always control lighting. Choose devices rated for the circuit amperage (typically 15A or 20A), keep switch boxes free of overloaded splices, and use AFCI/GFCI protection where required to cut fire and shock risk.
LED retrofits and heat/fire risk reduction
Swapping incandescents for LEDs lowers operating temperature and fire exposure: incandescent bulbs convert about 90% of energy to heat, while LEDs use up to 80% less energy and last 15-25× longer. You can retrofit recessed cans and enclosed fixtures with rated LED modules to reduce attic heat buildup and lower surface temps around insulation. For example, replacing five 60W incandescents with 10W LED equivalents drops load by ~250W and noticeably reduces fixture heat.
Motion, emergency, and exterior lighting best practices
Install motion sensors with ~120° coverage and 30-40 ft range for entries, pair dusk‑to‑dawn photocells with timers for consistent exterior illumination, and choose fixtures with at least IP65 rating and GFCI protection on exterior circuits. Target 100-200 lumens for walkways and 200-300 lumens for steps, mount fixtures 3-4 ft high to limit glare, and consider battery backups or generator tie‑ins that supply emergency lighting for 1-3 hours during outages.
When positioning motion fixtures you should aim sensors to cover approach paths, avoid direct street glare, and set sensitivity to ignore small animals; many sensors offer pet‑immunity or adjustable thresholds. Use warm 2700-3000K LEDs near entries to preserve night vision while using 3000-4000K for security areas. Low‑voltage (12V) landscape systems with centralized transformers simplify maintenance and reduce exposure at individual fixtures, and smart integrations let you log events and remotely test emergency lighting.
Smoke, Carbon Monoxide & Alarm Integration
When you integrate smoke and CO detection into electrical upgrades, prioritize hardwired, interconnected alarms with battery backup to ensure whole-house notification. NFPA 72 recommends alarms inside each bedroom, outside every sleeping area, and on every level, including basements. CO detectors belong outside sleeping areas and near attached garages. Interconnection shortens response time so you and your family can evacuate faster after a fire or rising CO levels.
Hardwired, interconnected detectors and placement
Hardwired units use 120V supply plus battery backup and interconnect either by wire or manufacturer-certified wireless so when one senses danger all units sound. Install per NFPA 72: inside bedrooms, outside sleeping areas, on every floor and in basements; place CO alarms outside sleeping areas and near fuel-burning appliances or garages. During remodels you can run interconnect wiring; for existing homes, wireless interconnect systems deliver the same whole-house alerting.
Smart monitoring, battery backup, and testing routines
Smart detectors such as Nest Protect and First Alert models provide remote push alerts, self-tests, and silence features while many include a 10-year sealed lithium battery or hardwired power with backup. You should test alarms monthly, clean units of dust, and replace smoke alarms at 10 years and CO alarms every 5-7 years per manufacturer guidance. Adding central-station monitoring gives verified dispatch when you’re away.
Smart systems give you detailed alerts (which unit and what hazard) and self-diagnostics that reduce nuisance trips. Typical smart alarms cost about $80-$150 each; central-station monitoring runs roughly $10-$30/month. For routine care, press-and-hold the test button monthly, log results, vacuum vents gently, and replace units at end-of-life. When alarms are interconnected and monitored, you gain faster notification, remote verification, and professional response even if you’re not home.
Surge Protection & Whole‑Home Safeguards
You can significantly reduce the risk of damage from utility switching and nearby lightning by combining a service‑entrance surge protector with targeted point‑of‑use devices. Industry standards (UL 1449) classify SPDs as Type 1 at the meter/main and Type 2 at branch panels or outlets; manufacturers list surge current ratings typically from 20-100 kA per mode. Coordinated protection lowers clamping voltage and limits destructive transients before they reach sensitive equipment.
Service‑entrance surge protectors and point‑of‑use devices
Install a Type‑1 SPD at your meter or main panel to catch large external surges, then add Type‑2 or Type‑3 units at high‑value circuits and outlets for layered defense. Point‑of‑use devices often provide 600-2,000 joules for individual electronics, while whole‑home units handle much higher surge currents; a licensed electrician should size and mount SPDs to match your 120/240V service and coordinate with breakers for proper fault clearing.
Protecting appliances, HVAC, and electronics
Your HVAC control boards, smart thermostats, and inverter compressors are particularly vulnerable-repair or replacement can range from $300 to $1,200+ for control boards alone. Hardwired surge protection at the HVAC disconnect and on refrigerator or washer circuits prevents transient spikes from destroying circuit boards and sensors, preserving system reliability and avoiding costly emergency repairs.
For deeper protection, add a dedicated SPD at the HVAC disconnect and place Type‑2 protection at the appliance panel, ensuring line‑to‑neutral, line‑to‑ground and neutral‑to‑ground protection modes are covered. Manufacturers sometimes back SPDs with connected‑equipment warranties ($10,000-$25,000 common), and many units include visual fault indicators or remote monitoring so you can verify protection without guessing; plan to inspect or replace SPDs every 5-10 years depending on exposure.
Final Words
Ultimately you protect your Moline home by prioritizing electrical upgrades such as GFCI and AFCI outlets, panel replacement, proper grounding, whole‑home surge protection, and interconnected smoke and CO alarms. Working with a licensed electrician ensures work meets local code, addresses aging wiring, and reduces fire and shock risks while improving system reliability and resale value. These targeted upgrades give you measurable safety improvements and greater peace of mind.


